Showing posts with label veggies. Show all posts

Wednesday, August 11, 2010

Summer Squash Croquettes

This is the perfect summer side dish (or you can do like we did, and use these as the main course.) SO YUMMY! I never used to like squash much - mainly because the only way I ever ate it (unwillingly) was boiled to a mushy nothingness by my grandma. (Whose only method of cooking vegetables, apparently, was boiling. She missed out on SO MUCH GOODNESS.)

Anyway.

I found this recipe at work in a Cooking Light magazine laying around. I believe it's the June 2010 one. These things are so yum.

First, you get some squash.

And cut it up in chunks.

So that it measures 4 2/3 cups
(I know that's a liquid measuring cup. But it's about right. And I'm okay with unexactness in cooking ... just not baking.)

Then you cut up some scallions.

And then you steam those babies right up.
And if you're like me, and you don't have a steamer basket, you get creative.

The ghetto steamer.

Isn't that pretty?

So after they're nice and steamy and soft, you mash 'em up with a fork.
This is easier said than done. So I used a fork ... and then I used a big knife to help the process along.

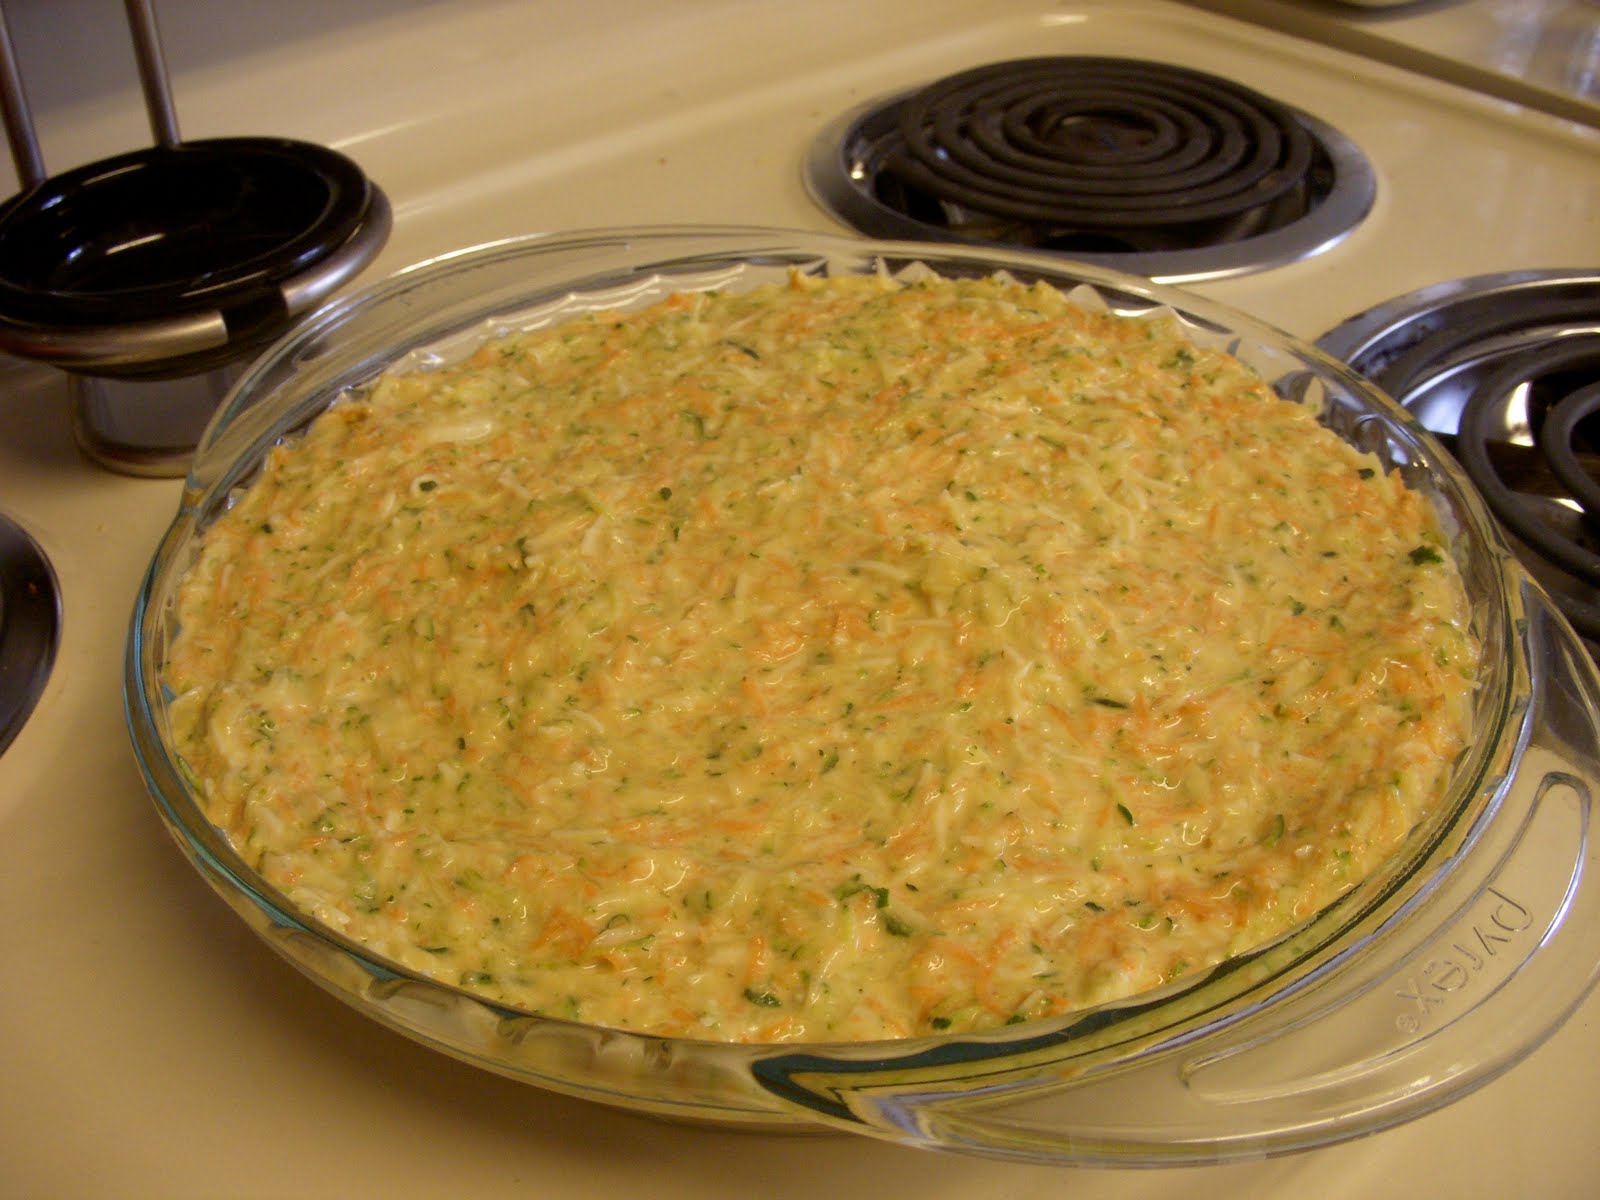
After you've got a big pile of mush, you dump it in a bowl.

And then you crush up some saltines, and put them into another liquid measuring cup. Incorrectly. Martha Stewart is probably rolling her eyes at me.

Then you put those in the bowl with the squash mush, plus some eggs and a little sugar and salt, and stir it all together.

And then it goes in the fridge for a while.

Once that's done, you're ready to cook your croquettes!
Put some of the mixture in a mesh strainer and squeeze the liquid out.

Then (and this is also easier said than done), make a little squash patty, dredge it in cornmeal, and put it in a big pan with hot oil.

And cook those croquettes right up! We ate ours as our main dish with a side of salad. So healthy, so yummy! Mark loved them. 

Hubby stamp of approval: check!

Now, here's the real recipe (with my slight modifications):

Summer Squash Croquettes
Ingredients:
  • 4 2/3  cups  coarsely chopped yellow squash (about 1 1/4 pounds)
  • 1/2  cup  chopped green onions
  • 1  cup  crushed saltine crackers (about 30 crackers)
  • 1/2  teaspoon  salt
  • 1/2  teaspoon  sugar
  • 2  large eggs
  • 1/4  cup  yellow cornmeal (I ended up using more than this)
  • Cooking spray (I HATE cooking with PAM, so I just used oil)
  • 1  tablespoon  canola oil, divided (because I didn't use cooking spray, I increased this by a little bit.)
  • Sliced green onions (optional)

Directions:
1. Steam squash and 1/2 cup onions, covered, 15 minutes or until tender. Drain well. Mash mixture with a fork. (And also a knife.) Stir in crackers and next 3 ingredients (through eggs). Cover and chill for 3 hours; drain well in a fine mesh strainer.
2. Place cornmeal in a shallow dish. Divide squash mixture into 12 equal portions, shaping each portion into a 1/2-inch-thick patty. (Seriously, easier said than done...) Lightly coat each patty with cooking spray. Dredge in cornmeal.
3. Heat 1 teaspoon canola oil in a large nonstick skillet coated with cooking spray over medium-high heat. Place 4 patties in pan; cook 1 1/2 minutes on each side or until golden. Remove patties from pan. Repeat procedure 2 times with remaining 2 teaspoons oil and 8 patties. Garnish with onions, if desired. Serve immediately.

Hope you all enjoy!

Wednesday, July 28, 2010

I'm back!

I can't believe that I have neglected this blog for so long. Things have been a little busy here, traveling every which way... but I am back, with photos of our pasta adventure! (I accidentally threw away the recipe ... oops...)

We started with the mushroom filling. Isn't that just gorgeous?

Maybe not the most flattering picture of me ever...

After the mushrooms were cooked, we blended them with a ricotta cheese mixture in the blender, and I mutilated a plastic spoon. (We later picked bits of the spoon out of our ravioli. Thank heavens we didn't have dinner guests!)

After that mixture was done, it was set aside, and we started the pasta process. And oh my, what a process it was.

First you make this little mountain of flour, and make a valley and put some eggs in it.

Then you knead it for a while. Kelly had this job. She wasn't too sure about it, I don't think...

Eventually after enough kneading, it'll turn into a ball.

Then you split the ball in two, and roll them out into sheets. You try to make the sheets as even as possible, but that's easier said than done.

Then after those sheets are rolled, you spoon the mushroom/ricotta mixture onto the pasta. (Side note: every single time I try to spell "mushroom," I try to spell it like this: muschroom. I don't know why, and it's annoying!!)

After your mushroom mixture is on the pasta, you cover it with the other sheet and squish them together. Then you cut them into (sort-of) squares, and let them dry for like an hour.

After they'd dried for like half the time, we made a tomato cream sauce for the ravioli. That was some good stuff, although it needed some more salt. It was better the second day, when the flavors had blended a little bit better.

And after the pasta was all nice and dry-ish, into a big pot it went, and voila!


Mushroom ravioli on my patio outside. It was a lovely way to end an evening.


But to be perfectly honest, while it was quite a fun adventure, and very delish ... I'm not sure that I'll do homemade pasta again anytime soon. The whole thing took 3 hours to make, and lots of elbow grease between the rolling and the kneading. It was extremely work-intensive, and I DEFINITELY wouldn't want to do it all by my lonesome.

Coming up next (hopefully soon) ... lemon dill fish, summer squash croquettes, and quiche!

Thursday, July 1, 2010

Cheesy Zucchini Frittata

Yesterday, in my Strawberry Cake post, I mentioned the frittata I made while I was waiting for the cake to bake. I decided to do a separate post about it, because it's delicious and tastes basically like a garden :) I like it when my food tastes like what it's made out of.

It's a pretty basic recipe. 
You'll need:

4 eggs
4 c. shredded zucchini
2 c. peeled shredded carrots
1/2 c. flour
3/4 c. mayo
1 c. shredded Monterey Jack cheese
1/2 c. grated Parmesan
1/4 c. chopped onion
1 tsp. basil (I highly recommend using fresh leaves)
pepper to taste
First, you've got to shred all those veggies. It takes an awful lot more arm power than I was expecting to shred 6 cups of squash and carrots...

Here's the site of the veggie massacre.
Started with zucchini:

Moved on to carrots:

Isn't that pretty? I'm such a nerd, but I just think vegetables are beautiful.

Okay, so now that your arms are about to fall off...
You're gonna beat your four eggs in a mixing bowl.
And then you're gonna fold in all the other ingredients.


Now, this is where it got tricky for me. My recipe says "Pour into buttered quiche pan." I don't technically have a quiche pan. So I'm thinking, okay, well I'll just do a pie plate. 
And then I was thinking "...Will it fit? I don't know .. Maybe I should do TWO pie plates."
And then I thought .... "Nah. My recipe says one. It'll be fine."

Should've gone with the first instinct. Or planned to bake it a lot longer than the directions call for.
Yum, yum. So, the recipe says to bake it at 375 for 30 minutes. I do so, and get it out, and the middle is definitely still RUNNY. I did put the pie plate on top of a cookie sheet just in case it ran over the edge, so that may have been the problem. I don't know. I just know that I ended up cooking it for another 15-20 minutes, and it was still not quite completely set in the very middle.


Obviously, we ate it anyway. I let it sit for a while after we cut the first pieces, and it was much better today. Also, the flavors had a night to combine, and it was just delish. The only thing I might change in the future is to decrease the amount of mayo, because you can sort of taste it, and I'm not the biggest fan of mayonnaise in general. Maybe I could do like half mayo and half sour cream or something, to keep the consistency right.

But anyway, it seriously tastes like a garden. It's mostly zucchini, with some eggy stuff holding it all together, and you can taste the squash and carrots and onions and basil, and it's just wonderful.

Yummy lunch for three days? Check!
Happy eating!

Monday, June 28, 2010

Eggplant Sandwiches

I am SO far behind with this blog. We have had so much delicious food lately (think pan-fried fish with squash salsa and salad greens, angel hair pasta with tomato and basil...) that I haven't had time or energy to blog about. (And some of it, no pictures.)

Before I talk about all that though, I have a book recommendation. 


(source here)

Warning: this book may very well change your life. It might also make you cry, laugh, and possibly both at the same time. It might make your heart swell so much you think it'll burst. It might make you want to go to Italy so bad you can taste it. You may, after reading this book, find yourself tearing up over oranges at the grocery store, understanding fully what you're doing by buying oranges from California when you live in Alabama, but not knowing what else to do at this point. You may, after reading this book, go completely insane and want to buy a farm.

All of the above? Yep. That's me.

Luckily, I can assuage some of my orange-guilt soon, because we're going to start subscribing to a local CSA (community-supported agriculture) called GrowAlabama. It makes my heart happy. We will get a box of fruits and veggies every week, all grown locally and organically, for about the same price as I pay for a weeks' worth of (not-organic, not-local) veggies at my nearby grocery store. Plus, farm eggs!!! So exciting.

Anyway, onto the food. How appropriate, after talking about CSA, that my recipe comes from the Real Simple article about Farmer's Market recipes. I know some of you have made this, and some of you have actually blogged about it, but I wanted to make it as well. And blog about it. Mainly because it's just so darn pretty. 

(Yes, I am one of THOSE people. The people who think vegetables are some of the most beautiful things on God's green earth. The people who love to shop for these healthy treats, because they're not only yummy, but aesthetically pleasing as well.)

Without further ado:

Eggplant Sandwiches:

First, you want to find a really pretty eggplant. (Or an ugly one, even.) Slice it into 8 slices.
Like so.

Then measure into 3 bowls 1/2 c. flour, 2 beaten large eggs, and a cup of Panko bread crumbs. You're gonna dip those eggplant slices into the flour first, and coat them really well, then go to the egg, and let it drip a bit, and then the breadcrumbs, mashing them gently so they'll stick.


(my bowls, post-dipping)

And then, into a frying pan they go! You'll use 1/4 c. canola oil for the first four...


...then when they get all nice and brown...


...put them on a paper towel, and wipe out the pan, and do the same thing with another 1/4 c. canola oil and the other four eggplant slices.


Salt the eggplant while it's still hot, and then you can make them into sandwiches. The recipe suggests using 2 eggplant slices as your "bun," and layering tomato slices, roamine lettuce, goat cheese, and basil in between. We didn't have any romaine, so I used spinach. And I figure any sort of cheese would be pretty awesome, even though we did use the goat cheese it called for. They were so yummy, and a great vegetarian dish!

(I really do eat meat. I know it doesn't look like it, but I do. I just have happened to have some really, really awesome meatless recipes lately!)


And there you have it. The sandwich in all its glory.


Now, is that pretty, or what??


(P.S. Check back tomorrow morning for a pictureless-but-AMAZING recipe from Mrs. Ina Garten!)

Sunday, June 20, 2010

Pasta with Sun-Dried Tomatoes

The other day, I channeled Ina Garten to make this yummy, yummy lunch. I love that woman. Her food is beautiful, and real, and simple, and good. And her speaking voice is very soothing. I always like voices that sound like they would be good at reading bedtime stories. Hers is one of them. I loved watching her show (back when we had cable TV...)

Anyway, I made this for Mark and myself for lunch this past week (we ate on it for about 3 days), and it was utterly delightful. Here's how:

Start with all of these lovely ingredients:


Put the pasta on to boil per the package instructions, and begin chopping some tomatoes
(Isn't that the prettiest thing you might have ever seen?)

When the tomatoes are chopped, cut up some fresh mozzarella in bite-size pieces.

(Be still, my heart.)

Then, when the pasta's done, drain all the liquid out of it. Run some cold water over it to help it cool off.

And put it in a big bowl

Then add the tomatoes and the cheese that you just cut up.

(Yummmmm.)

Then, get a jar of sun-dried tomatoes packed in oil, take out about 6 of 'em, and pat the oil off (mostly.)

Then chop them up, and put them in the bowl too, and stir it all up together.

Then you'll need a food processor for the dressing. It really helps if you have a food processor instead of a blender, like I have, because then everything won't get wedged in the very bottom and you spend about 5 minutes trying to scrape it out with a spatula. Just sayin'. 

I sadly don't have any pictures of the dressing process, because I was in a super-crazy hurry and it was about 7:30 in the morning, and I was trying to make muffins at the same time, and the pictures just never got taken. You can just refer to the recipe I'll be posting below in a minute for that part.

After you do the dressing, pour it over the pasta, and stir THAT up really well.
(Hello, gorgeous.)

Then, it can sit in the fridge for a while ... ours lasted a good 3 days (at which point it was all eaten up, so I don't know how much longer it would've lasted after that.)
When you're ready to eat it, I just snipped off a basil leaf or two from my basil plant, tore it up, stirred it in, and grated parmesan cheese over the top. But you can do it however you want.

Voila!

And now, the actual recipe from Mrs. Ina Garten herself. (Have I said that I love that woman?)

Pasta with Sun-Dried Tomatoes

1/2 lb. fusilli (spirals) pasta
kosher salt
olive oil
1 lb. ripe tomatoes, medium-diced
3/4 c. good black olives (such as kalamata) pitted and diced (I omitted these, cause I'm not an olive fan)
1 lb. fresh mozzarella, medium-diced
6 sun-dried tomatoes packed in oil, chopped and drained

For the Dressing:
5 sun-dried tomatoes packed in oil, drained
2 Tbsp. red wine vinegar
6 Tbsp. good olive oil
1 garlic clove, diced
1 tsp. capers, drained
2 tsp. kosher salt
3/4 tsp. freshly ground black pepper
1 c. freshly grated Parmesan cheese
1 c. packed basil leaves, julienned

Cook the pasta in a large pot of boiling salted water with a splash of oil to keep it from sticking together. Boil for 12 minutes, or according to the directions on the package. Drain well and allow to cool. Place the pasta in a bowl and add the tomatoes, olives, mozzarella, and chopped sun-dried tomatoes.
For the dressing, combine the sun-dried tomatoes, vinegar, olive oil, garlic, capers, salt, and pepper in a food processor until almost smooth.
Pour the dressing over the pasta, sprinkle with the Parmesan and basil, and toss well.

And there you go. It's super easy (especially if you have a food processor instead of a blender!) and super tasty. My husband raved about it - he asked if we could eat it all the time. Always a good sign :) Enjoy!!